
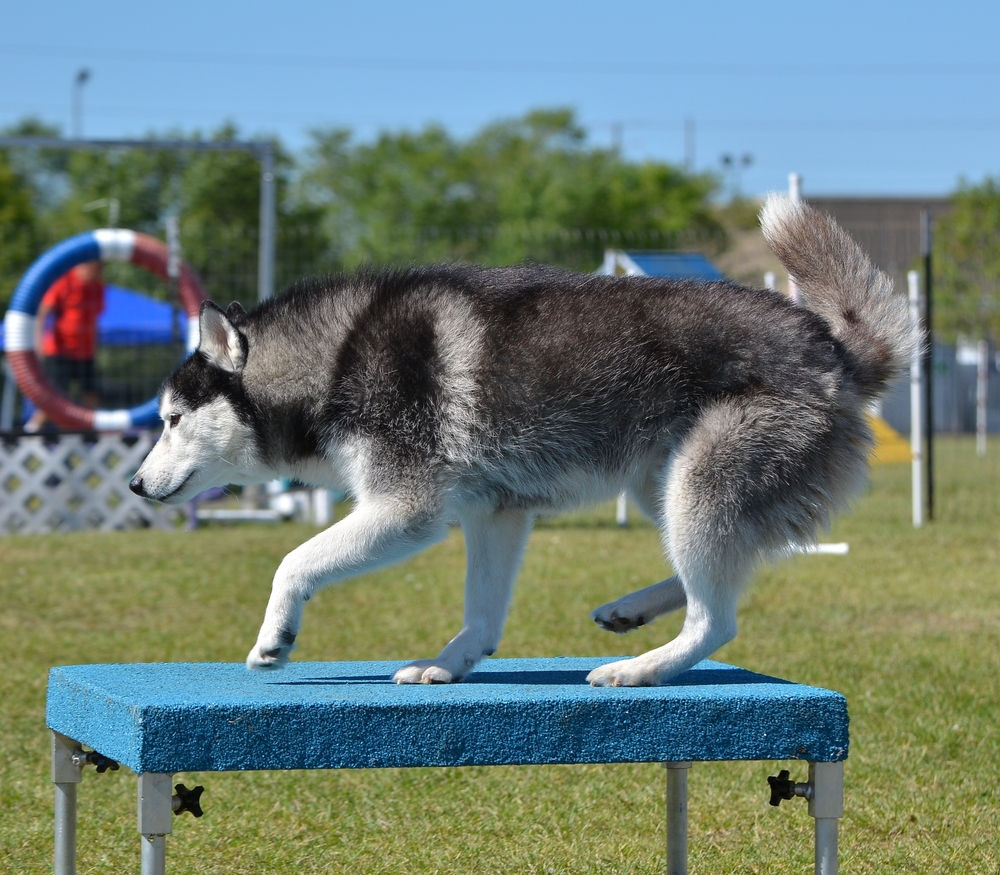
In dog agility obstacle course terms, the humble ‘pause table’ looks pretty simple.
Compared to the tunnels, seesaws and a-frames on show, the little square platform seems almost unnecessary – surely if a dog can balance across a moving plank it doesn’t need to demonstrate that it can stand on a flat table?
But in fact, the pause table often proves one of the most difficult pieces of apparatus for pooches to master, and where many fall down on points during shows and competitions.
This is because it takes a great deal of self control, patience and discipline to hold still for a full 5 seconds in the middle of a very energetic and exciting obstacle course.
Just think about how easy it is to get a toddler to dance around, and how difficult it is to get them to stand still!
Well, exactly the same applies to the pause table for dogs, which is why you should get practicing with your pooch at home. And if you don’t already own one of these pausing platforms, why not make your own?
The Dimensions Of A Pause Table
Before you set about making your pooch’s pause table you need to decide on the dimensions. As with much of the apparatus used in dog agility trials, the size of the equipment changes according to the size of the dog breed.
No point trying to make a doberman squeeze through a tunnel built for a chiwawa. Of course, if your dog is new to agility training you may also want to take this into account.
By making your table adjustable you will be able to introduce your pooch to the concept of hopping up onto it whilst it is at a low height, and then gradually increase the height as they get the idea.
All that being said, these are the standardized dimensions cited by most dog agility associations and adhered to during shows and trials.
Table area: 36 inch square (plus or minus 2 inches according to dog size)
Table thickness: 3 inches
Table height: 8 inches high (for dogs with a 4-8 inch jump height)
12 inches high (for dogs with a 12 inch jump height)
16 inches high (for dogs with a 16 inch jump height)
20 inches high (for dogs with a 20 inch jump height)
24 inches high (for dogs with a 24 inch jump height)
The Color Of A Pause Table
Having decided what dimensions your dog requires for their pause table, you should now think about what color you are going to paint it. There are no standardized colors for this piece of equipment, and the color will change from venue to venue and competition to competition.
However, there are a few cardinal rules that you should follow when making your own paint choice.
Use A Non Slip Paint Or Surface
This is of utmost importance in order to make your pause table safe for your pooch. They will be jumping onto it at quite a speed, so you don’t want them slipping off the other side.
Use A Light Color On The Tabletop Surface
Using white, or some other very light color allows your dog to perceive the tabletop more clearly and also allows judges to see their posture and outline more clearly as well.
Use A Contrasting Color To That Of The Running Surface
Doggy-vision is more limited than human vision, and they see a more 2 dimensional idea of the world.
Using a contrasting color to that of the running surface allows your dog to see the obstacle in more dimensions and gauge their jump onto it more accurately as a result.
What you will need:
- 1 x 36 inch squared plywood sheet – for the tabletop
- 4 x 36 inch lengths of 2×4 wood – for the table edge
- 4 x table legs (cut to the necessary height )
- 1 x tube of wood glue
- 1 x drill with drill bit and screwdriver capacity
- 1 x box of long screws
- 1 x Pocket hole jig (if you have one)
- 1 x nail gun
- 1 x bag of sand
- 1 x tin of light, water resistant paint
- 1 x Ruler,
- 1 x Tape measure
- 1 x Pencil
Before you start to assemble
Before you get stuck in, it is always a good idea to check the measurements of your individual pieces of wood for inconsistencies. Even if they have been cut at the shop in front of you, there may be up to ½ inch differences in thickness that could throw your joints off.
Measure every piece and sand down or saw off any excess where necessary.
You should also check your pieces for splinters, staples, cracks and knots and sand these down where you can. This will not only make painting and finishing easier, and keep your pooch safer, but it will also increase the lifespan of your table once it is made.
How To Assemble Your Pause Table
Once you have checked your pieces and ensured their condition and sizings are up to scratch you can begin to assemble your pause table.
Step One – Line Up Your Table Edges And Diagonal Cut The Ends
Arrange your table edges so that they form a square the same size as the 36 inch plywood table top.
Use a circular saw to cut the end of the 2x4s on a 45 degree angle so that they slot together seamlessly. Use a small amount of wood glue to hold them in place.
Step Two – Screw The Table Edges Together Using Pocket Holes
With your 2x4s glued together in a square, you can use your pocket hole jig to guide your drill bit through the wood at a diagonal angle on each corner.
Then you can use your long screws and fasten the corners together using the pocket holes as your inroad.
You should now have a square frame of 2x4s which will not only form the edges of your table, but will also help to reinforce it and make it stronger and safer for your pooch to stand on.
Step Three – Attach The Table Top To The Table Frame
Lie your 36’ square sheet of plywood on top of your square frame and line the edges up so that they are flush.
Use your pencil to mark two dots in each corner that sits just off center (so that you don’t nail directly into the diagonal join but to each side of it instead).
Then, using your mail gun over each of the dots, attach the plywood sheet to the frame beneath. You should use a total of 8 nails.
Step Four – Attach The Table Legs To The Table Frame
Now flip the whole thing over, so that the tabletop is down and the underside and frame are exposed. Check that your table legs are nice and flat on each end, and that they are uniform in length.
Slot the legs into the corners of the frame so that they are each standing on the underside of the table’s surface and are pressed against the right angles of the table edges.
Use some wood glue to hold them in place and turn your table up to check it is stable and even. If necessary you can sand down or saw off any areas of excess now.
Then, with the table flipped up again, use your pocket jig to guide your drill in diagonally through each table leg, so that you secure them to the table frame.
Always be aware of where your existing screws (holding your frame together) are situated so that you don’t clash.
Step Five – Sand And Paint Your Pause Table
With the 4 legs secured into place you should be able to flip your table over and admire it. Sand off any rough edges or dents that may have occurred during assembly.
Next, pour out your bag of sand into a paint tray and mix it with your light colored, weather resistant paint. The sand will create a grippy texture so that your table is non-slip for your pooch, without being irritating to their paws.
Apply two generous coats of paint in order to give your table durability and a polished finish.
Pause Table Training Tips And Tricks
And there you have it, a dog agility pause table built to the exact specifications of your own pooch, which they can practice and enjoy no matter what the weather is like.
Now all you need to do is get training, and here are a few simple tips and tricks to set you and your pooch on the right track:
Command Word
Before you begin training, decide what command you are going to use when referring to this particular piece of apparatus.
Saying ‘up’, or ‘on it’ or ‘stay here’ are all commonly used commands for the pause table, but you can say whatever you like as long as you keep your wording and tone consistent.
This will ensure that your pooch does not become confused about what you are asking of them.
Treat Training
Using treats is a great way to incentivize your dog and let them know when they have done something right.
Giving your pooch a treat once they jump onto the table, and a treat after they have paused for 5 seconds are really good reward points in their training journey.

When it comes to dog training, it is important for the owner to be taught the simple but correct techniques, and the way in which you communicate with your dog is vital to this process. I recently decided to set up this blog to share my knowledge and skills with a wider audience.
- 8 Signs That Your Dog Is In Heat - November 8, 2022
- Why Is My Dog Whining Whilst Carrying A Toy In Their Mouth? - August 17, 2022
- Reasons Why Your Dog’s Poop Is White And What To Do About It - August 17, 2022